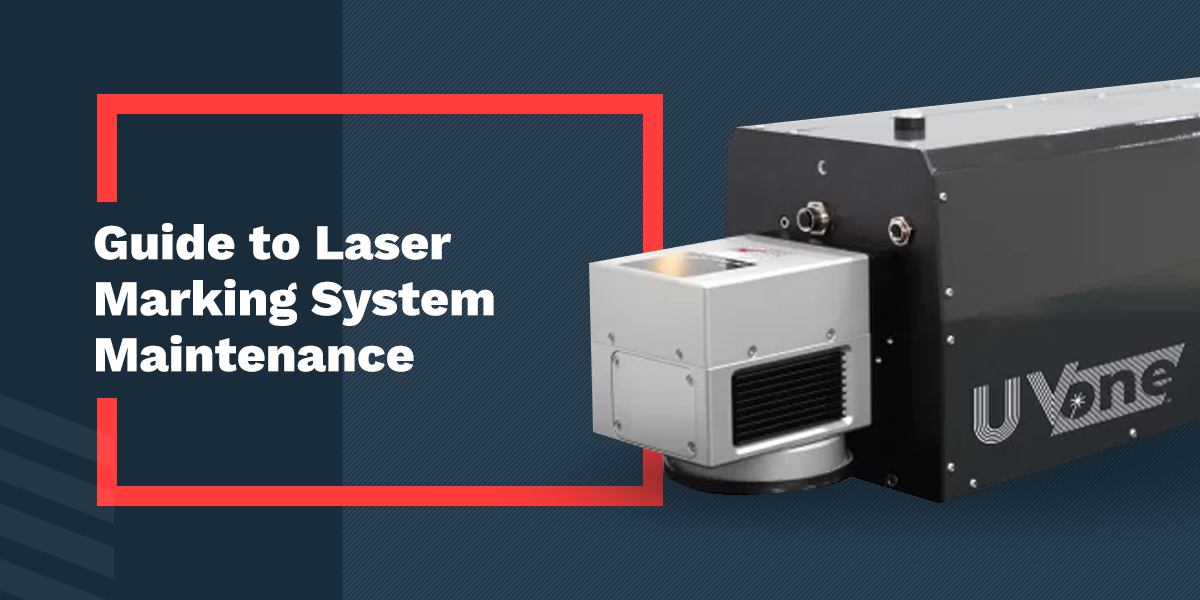
24 Dec Guide to Laser Marking System Maintenance
Laser marking systems are automated machines that manufacturers are increasingly relying on to engrave high-contrast marks on various industrial materials. Purchasing a laser marking system requires a significant investment, so you want to take the time to maintain them and keep them in the best working condition.
Proper maintenance of different types of laser marking machines generally involves keeping them clean and free of dust, debris, fumes and smoke. This is important because when these particles accumulate on and around your machine, they may result in overheating and system failures. Regular maintenance also enhances longevity and reduces downtime and costs associated with equipment part repair.
This guide shares the maintenance tips that can be used for two of the most common types of laser marking systems — fiber laser engravers and CO2 laser engravers. Following these tips ensures you maintain the machine’s optimal speed and precise marking effect.
Pre-Operation Checklist
Laser marking machine maintenance starts before you plug in the machine to power. Pre-operation maintenance steps ensure safe and efficient machine operation. These include:
- When you get a new laser engraving machine, start by setting the power to at least 50% for the most efficient operation. You can adjust this over time according to usage.
- Ensure proper ventilation in the working area by placing your laser engraving machine as close as possible to exhaust vents such as doors and windows. This prevents the accumulation of smoke and fumes in the working areas to reduce fire and explosion hazards.
- Secure the working environment by keeping it clean, dry, organized and free of any potential hazards.
- Check the machine for secure grounding and proper power cord and plug connections to keep electrical accidents at bay. Confirm that the power cord’s voltage is set at the recommended range.
- Make sure you have the right marking materials as specified in the manufacturer’s manual so they’re compatible with the laser’s wavelength.
- Confirm the laser marking system’s settings, function keys and indicators are all set correctly.
- Run a test before starting the engraving process to certify everything is working as expected and the machine is making clean and precise markings.
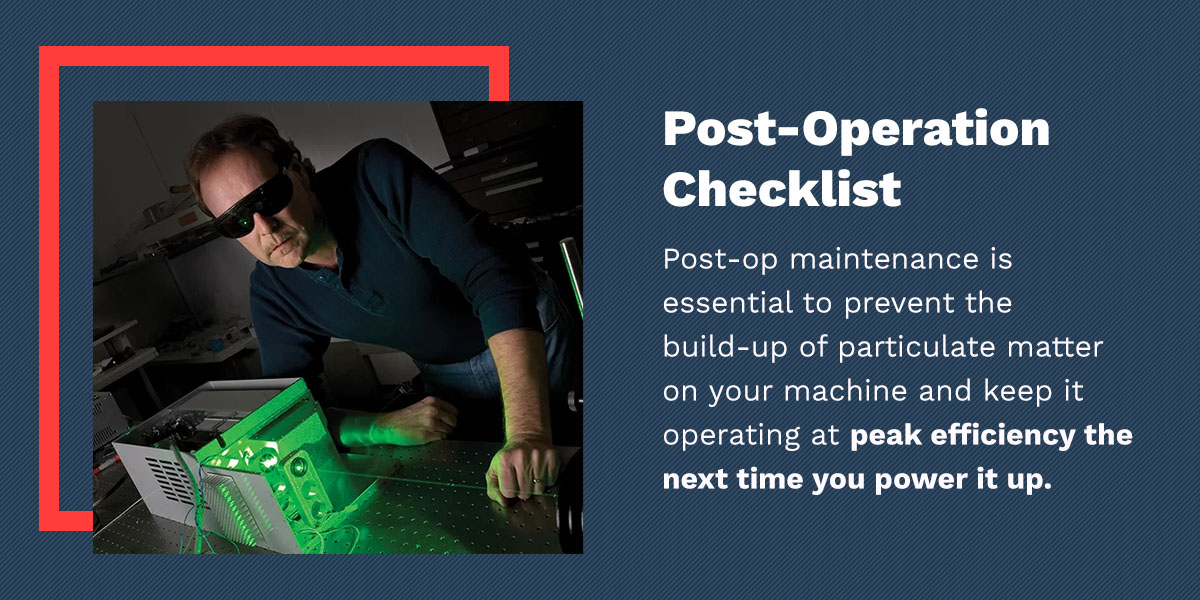
Post-Operation Checklist
Post-op maintenance is essential to prevent the build-up of particulate matter on your machine and keep it operating at peak efficiency the next time you power it up. Here are some best practices to follow after every use:
- When shutting down the machine, start by turning off the laser power first, then proceed to shut down the laser marking software to extend the system’s life span.
- Wipe down the monitor, workbench and keyboard using a clean cloth with some alcohol, acetone or all-purpose cleaner. Never pour the liquid on the workbench because it may cause soot build-up and fires. You can also use a vacuum cleaner with a flexible nozzle to pull dust from the monitor and keyboard.
- Remove the crumb tray and discard the metal powder and residue after every use.
Daily Maintenance
Follow these steps for thorough daily laser machine maintenance:
- Apply lubricant on the machine’s moving parts, which include the rails and bearings, for smooth operation. Avoid applying too much because it’ll attract dust and debris.
- Confirm that the laser beam is accurately aligned and focused to guarantee precise markings. Use the adjustment screw to align the beam correctly by adjusting the height of the galvanometer.
- Confirm that the operation switches, which include the machine’s main switch, laser control switch and laser marking system switch, are working as expected.
Weekly Maintenance
Every week, you must do a little more in terms of maintaining your laser engraving machine. Here are some weekly maintenance practices to follow:
- Use a high-quality, clean cotton swab dabbed in an optics cleaner to remove dust, smoke, debris and resins on the machine’s mirrors and lenses. Doing this weekly ensures the laser maintains its power.
- Confirm that the laser light output is working normally.
- Start the laser marking software and set it for manual marking to test the accuracy of the laser. Check that the laser parameters are set to the designated range, turn on the red light preview and enable the correction feature.
Monthly Maintenance
Set a date once every month to conduct the following general laser engraver maintenance procedures:
- Clean the dust from the laser machine’s exhaust ports and connected duct work using a vacuum cleaner, alcohol and a clean cotton cloth. This helps maintain proper ventilation, heat dissipation and laser cutting quality.
- Use a flexible wire or plastic brush to clean inside the laser engraver’s vent and draft ports.
- When the machine is not in use, cut off the power supply and cover the lenses to ensure it works efficiently the next time you need it.
- Confirm that the lifting machine, guide rail and other movable parts are not loose, leaking oil or making unusual noises. While you’re at it, clean them with a dry, dust-free cloth and top up the lubricating oil.
- If your machine doesn’t have a fume filter fitted to the fan unit, clean the impeller.
- Inspect the laser connections to ensure it’s not damaged or broken, and clean the parts accordingly.
Connect With Telesis for Product and Service Support
Telesis is your one-stop shop for all your permanent marking and traceability solutions. We sell the most efficient and cost-effective laser marking systems that feature innovative software and are made to last for ages. Our team of marking experts is dedicated to helping you choose the best machine for your needs and set it up accurately.
Most importantly, we offer our clients ongoing maintenance programs and on-call maintenance services to ensure your laser engraving lasts long and is always efficient. Contact us today to learn more about our products and service support offerings.

